
Experimenting with Local LLMs and VSCode

This is a “learn-as-I-go” post. I want to integrate VSCode with a local LLM. There are a few motivating reasons:
- There is a fair amount hype around open source models and smaller models in particular right now and I’m curious to see how difficult it is to set one up myself.
- I want to see how a local LLM can compare to a hosted model like Claude Sonnet 4.6 (the model I tend to reach for at the moment for every-day coding tasks)
- Copilot burns through credits with the new billing model, even when I select the cheaper models so I want to see if local LLMs can be a viable alternative to hosted models for certain tasks.
- I want to run some benchmarks for different scenarios around OpenCLI Specification documents and I’m hoping that by running my own model I’ll have greater control over the tests.
Getting Started
First it looks like we have to install what amounts to a ‘package manager’ for models. There are several choices, but the big two appear to be Ollama and LM Studio. I’m choosing Ollama simply because it seems more lightweight (just a background daemon with CLI support) and it seems to have great community engagement. Then I’ll have to pick a model (more on that later)
Although my daily coding machine is a Macbook Pro M4, I’m aiming to run the models on my gaming PC because it has a has an Nvidia 5090 GPU. That means I’m going to be running some powershell (which I’ve never really used; so bare with me if you see some scripts below that are… suboptimal). So I’ll have to expose ollama as a service on my local network so I can continue to work on my Mac while offloading the model inference to my PC.
Install Ollama
I go to ollama.com and it’s pretty straight forward to install (and it even gives me the powershell script to do it so I don’t need to fumble around figuring that out).
irm https://ollama.com/install.ps1 | iex
Picking a Model
I’ll do what anyone would do and go to reddit to see what models are recommended for coding. Specifically, I come across this post that points me to the Qwen family of models. Qwen seemed to be unamimously endorsed with some debate over specifics (version, model weights, quantization, KV cache optimizations, etc.) I know what these words mean by themselves, but in this context it’s still a mystery.
Before selecting a model, I want to know what these various parameters actually mean. Let’s ask Gemini to explain them.
Model Weights
The numerical values (parameters) inside a neural network that determines how input text is processed to generate output text
During training, the model adjusts these numbers billions of times until it gets really good at predicting the token (i.e. word).
So when a model name contains something like ‘32B’ it means it 32 Billion parameters. Generally, more parameters means a smarter, more capable model, but it also requires more VRAM. And with a 5090 I’m capped at 32GB.
Quantization Level
Quantization impacts the precision of the parameters. Continuing the example from above, in a 4-bit quantization Level, it would mean each of the 32 billion numbers is stored using only 4 bits.
Models are typically trained at high precision levels (e.g. 16 bits) and then the process of quantization compresses those numbers to save space.
So quantizing to lower precision can allow me to use a higher-parameter model (i.e. a smarter model) on consumer hardware. I’m sure there’s trade-offs here where lower precision starts to impact results. This could be something to play around with in the future – more parameters with higher quantization levels or fewer parameters with higher precision.
KV Cache
When an LLM generates text, it does so token by token. To predict the next token it needs to look at everything that came before it – both the original prompt and the tokens it has already generated in the response.
Without a KV cache, the model would have to recalculate the mathematical representations for every single previous word every time it generates a new one. the KV cache allows the LLM to calculate the value of a token once.
So it sounds like the KV cache is great at saving time during inference at the cost of VRAM in my GPU. Another tradeoff to consider! And again it sounds like this KV cache can also be quantized to greatly save space without sacrificing too much performance in the output.
Picking a Model… For Real
With all of that out of the way, I see that Qwen’s latest model is Qwen3.6 and comes in 2 variants: one with 27 billion parameters and one with 35 billion parameters.
I’ll start with the smaller variant because I’m guessing it will download faster and inference may also be faster. I’m not looking for output performance just yet. I’m still experimenting.
On the Ollama page for the qwen model it gives the sample command to download the model. But it doesn’t say anything about selecting the model size.
ollama run qwen3.6
It turns out you can specify the model size using tags, e.g.:
ollama run qwen3.6:27b
The command downloads the model and immediately starts running it.
>>> Send a message (/? for help)
>>> Write the simplest possible hello world program in Go
… about 5 seconds of ‘thinking’ later …
package main

import "fmt"

func main() {
  fmt.Println("Hello, World!")
}
Pretty cool! But that’s not exactly what I want. I want to expose the model as a service to VSCode running on my Mac.
Exposing Ollama on my Local Network
I quit ollama by type ctrl + d in powershell.
To expose ollama on my local network I have to set an environment variable. There’s lots of ways to do this in Windows, but I’ll use a script block & { ... } and simply chain the $env:... command with ollama....
& { $env:OLLAMA_HOST='0.0.0.0:11434'; ollama serve }
It took me way too long to realize that I needed to call the serve command and not simply run the model.
Connecting VSCode to my Local LLM
On my Mac, I confirm that I can access the ollama server over the network by navigating to: <localip>:11434/api/tags
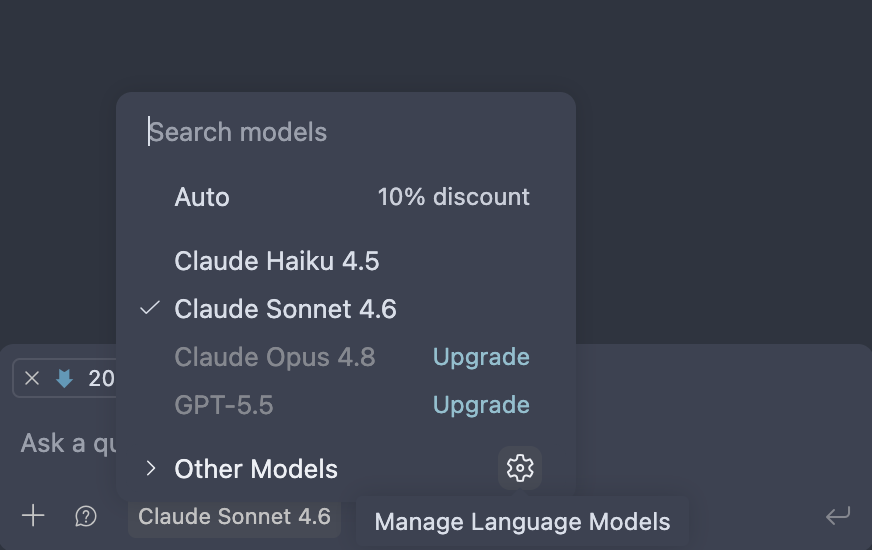
Then, in the Copilot chat panel, I click on the model selector at the bottom of the screen and then the settings gear icon.
Which brings up a window full of my existing model selections. (Your screen may look different here depending on what copilot plan you have)
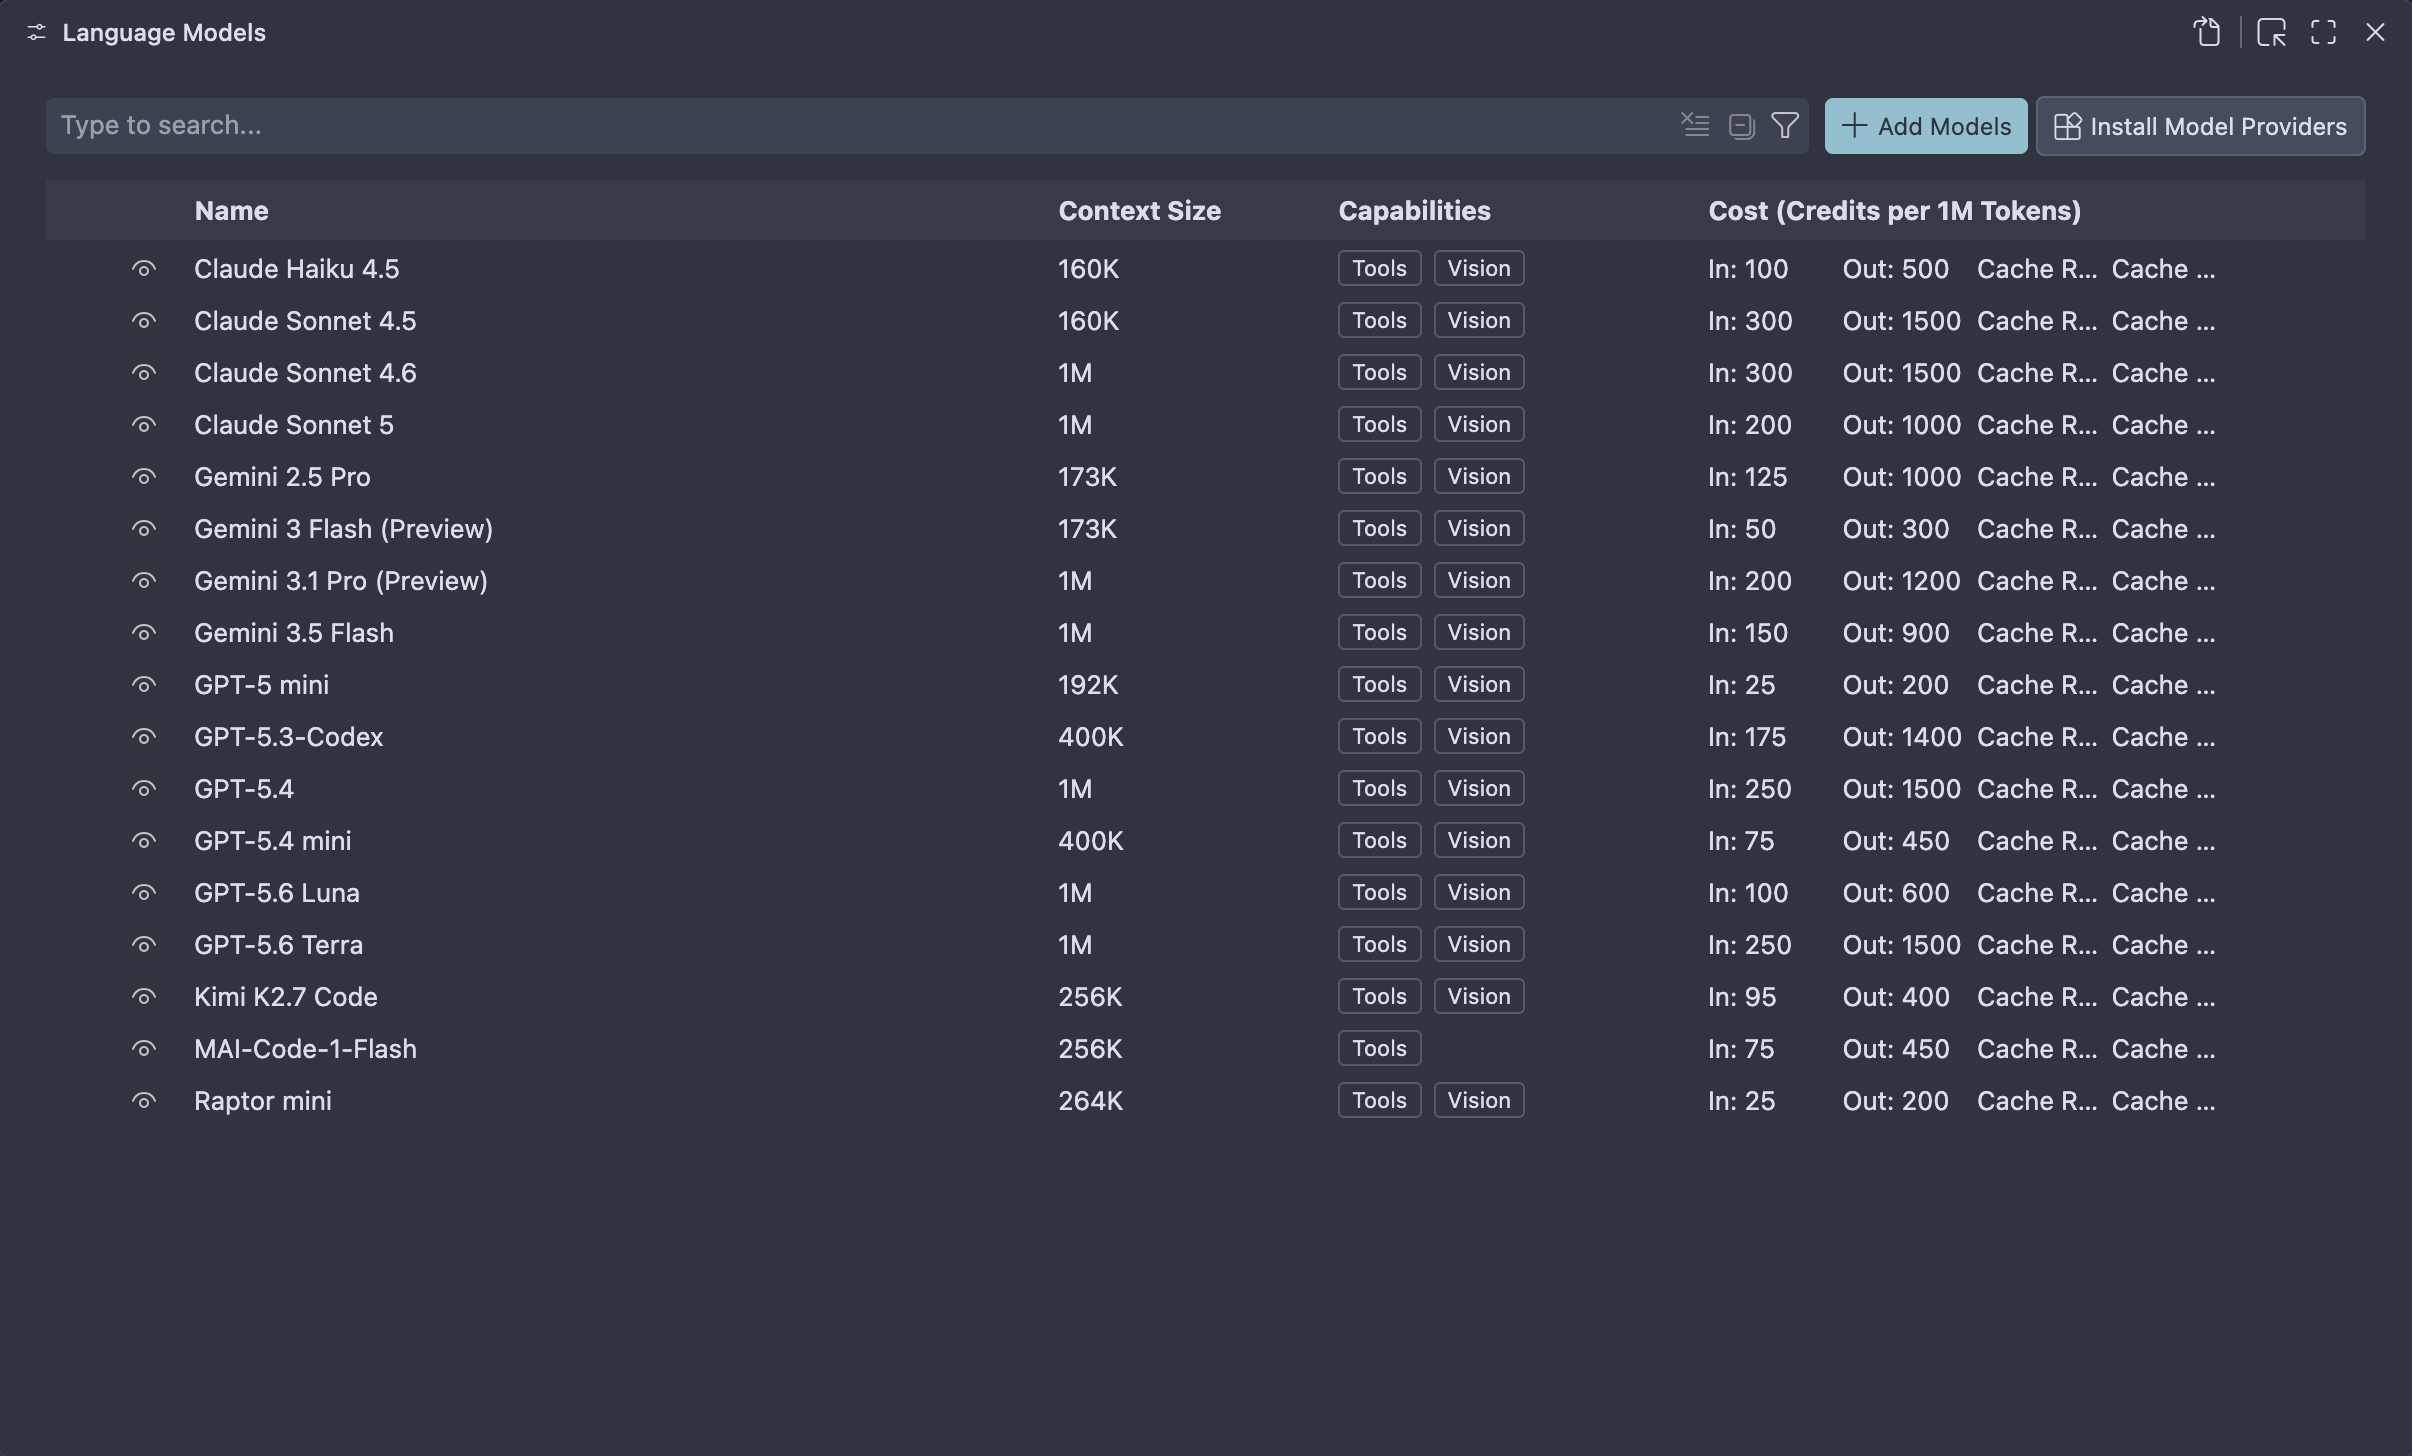
From there I select “New Model” –> “Custom Endpoint” and follow the prompts:
- Group Name:
ollama - API Key: left blank – I don’t think I have one… at least ollama hasn’t told me of one
- API:
Chat Completions– I think this aligns with a sort of standard API that OpenAPI normalized on and other services (including Ollama) have adopted it as well - Fill in the JSON to match my LAN IP and model
[
  {
    "name": "ollama",
    "vendor": "customendpoint",
    "apiType": "chat-completions",
    "models": [
      {
        "id": "qwen3.6:27b",
        "name": "qwen3.6:27b",
        "url": "http://192.168.1.173:11434/v1",
        "toolCalling": true,
        "vision": true,
        "maxInputTokens": 128000,
        "maxOutputTokens": 16000
      }
    ]
  }
]
And now I can prompt my own local LLM!
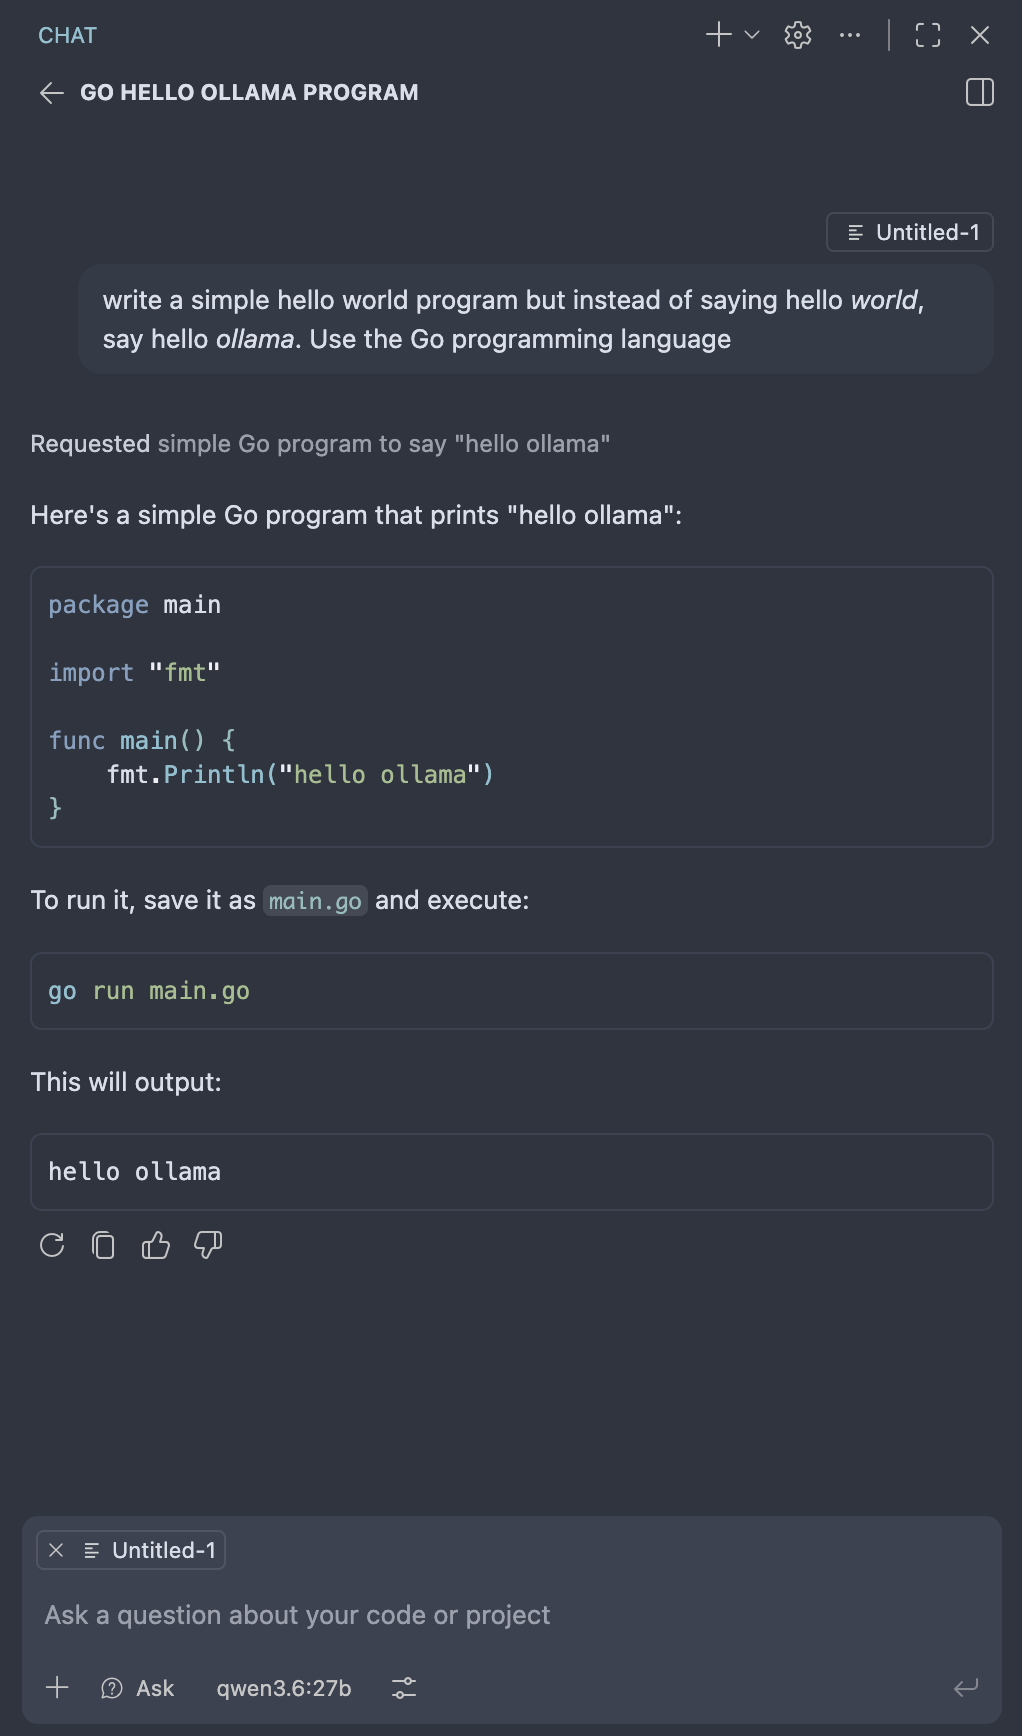
Honestly, that was easier that I thought it would be. The state of the tooling and ecosystem is impressively polished. From start to finish I was up and running in about a half hour. And that’s including my detour to understand terms and download 60GB+ of models.
Next up… running some benchmarks to see how performance compares to the hosted models and to other configurations of open source models. Then I want to run some benchmarks to see how we can improve token usage efficiency when using OpenCLI Specification documents to build context about CLI tooling.
Update
After updating visual studio code on my Mac, my model integration over the LAN stopped working. I was greeted with an instantaneous error message in response to any chat attempt:
Sorry, your request failed. Please try again. Client Request Id: 79508090-e1ce-4694-a19e-293223b5772f Reason: Please check your firewall rules and network connection then try again. Error Code: net::ERR_ADDRESS_UNREACHABLE.: Error: Please check your firewall rules and network connection then try again. Error Code: net::ERR_ADDRESS_UNREACHABLE. at bG._provideLanguageModelResponse (/Applications/Visual Studio Code.app/Contents/Resources/app/extensions/copilot/dist/extension.js:1710:13930) at async bG.provideLanguageModelResponse (/Applications/Visual Studio Code.app/Contents/Resources/app/extensions/copilot/dist/extension.js:1710:14933
I wasted another 30 minutes trying to figure out what had changed (I even rolled back to an older version of vs code and got the same results). The issue was that MacOS had toggled the System Settings / Privacy & Security / Local Network setting for the new install of VS Code and was preventing the app from making requests on the local network.
TL;DR: For visual studio code, make sure the “Allow the applications below to find and communicate with devices on your local network.” toggled is enabled.